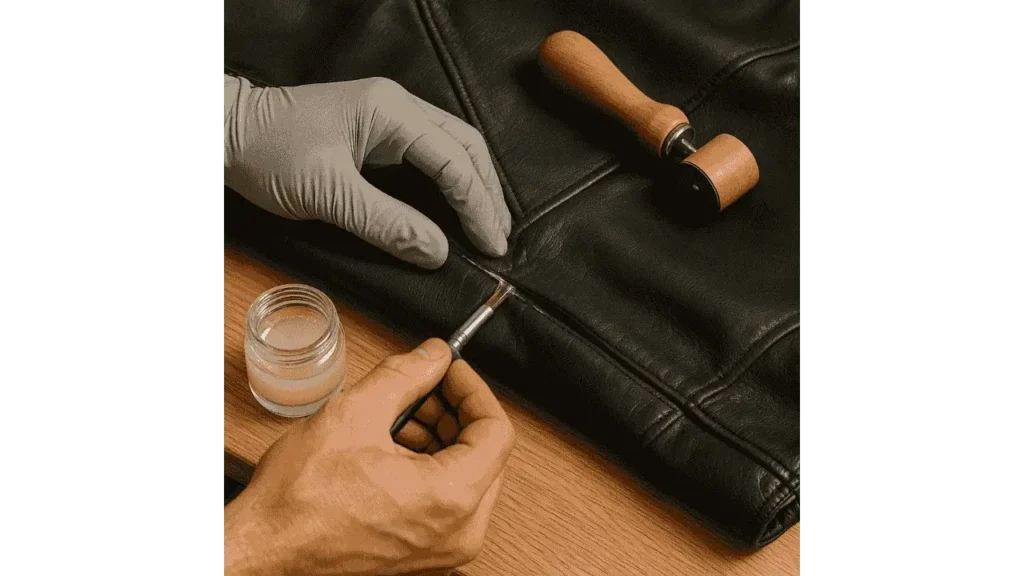
A beloved leather jacket tells stories through every crease and scuff, yet excessive cracks or tears can push that patina from charming to shabby. Fortunately, leather is forgiving when treated with the right balance of cleaning, conditioning, and careful repair. With a methodical approach you can restore softness, disguise scratches, and reinforce weak spots, extending the garment’s life for many more seasons on your shoulders rather than in the closet.

Why Does Proper Leather Repair Matter?
Leather is a durable but porous material; neglect allows dirt, body oils, and environmental dryness to draw out its natural fats. Over time, this creates surface cracks that invite deeper fissures. Professional restorer Olivia Marchand notes,
“Minor abrasions are a leather jacket’s warning lights. Address them early, and you rescue the entire hide; ignore them, and the damage compounds exponentially.”
Regular maintenance paired with timely repair preserves not just appearance but structural integrity, saving money and reducing waste.
Cleaning the Leather Before Any Fixes
Begin by removing surface contaminants so conditioners and fillers bond properly. Mix a mild, pH‑balanced leather cleaner with lukewarm water, dampen a soft microfiber cloth, and wipe the jacket in gentle circular motions. Never soak the hide; excess moisture can stretch seams and lift dyes. Once dirt is lifted, let the jacket air‑dry naturally, away from direct heat or sunlight, so the fibers regain equilibrium before the next step.
Learn More: How Do You Safely Wash a Synthetic Leather Jacket?
Treating Scratches and Hairline Cracks
Light scratches often disappear after a thorough application of leather conditioner. Work a pea‑sized amount into the blemish using a lint‑free cloth, then buff gently. For deeper cracks, employ a leather filler, a flexible compound that mimics the hide’s texture. Spread a thin layer with a plastic spatula, allow it to cure, then lightly sand with ultra‑fine grit to level the surface. Matching leather dye sponged over the repair blends color so the fix vanishes into the surrounding grain.
Handling Tears and Larger Damage
When a rip extends through the hide, reinforcement is essential. Trim any frayed edges, slide a leather patch or fabric backing behind the tear, and secure it with a high‑grade leather adhesive. Press firmly to fuse layers, then apply filler at the seam to create a smooth transition. After dyeing and sealing, the repair becomes all but invisible. Master cobbler Raúl Espinoza affirms,
“Strength beneath the surface, backing plus adhesive, makes the difference between a patch that holds and one that peels under stress.”
Conditioning, Polishing, and Protecting
Once structural repairs cure, feed the entire jacket with a nutrient‑rich conditioner to restore flexibility and luster. Massage product evenly, allow absorption for several hours, then buff with a soft cloth to reveal a healthy sheen. Optional leather polish adds subtle gloss and an additional protective layer. Finish with a light mist of waterproofing spray to shield against moisture and stains, especially crucial if the jacket sees daily wear in unpredictable weather.
Read More: How Do You Clean the Lining of a Leather Jacket Safely?
Final Takeaways
Successful leather‑jacket repair follows a simple hierarchy: clean, mend, condition, protect. Address scratches early with conditioner, tackle deeper cracks with filler, and fortify tears using patches and adhesive. Regular conditioning and periodic waterproofing keep the hide supple, ward off future damage, and preserve the jacket’s iconic look. With these practices, and a bit of patience, you’ll transform a distressed coat into a revived classic ready for decades more adventure.
- How to Wear an Oversized Leather Jacket? Style Tips for a Casual Look - August 6, 2025
- How to Fold a Leather Jacket? - August 5, 2025
- How Should a Leather Jacket Fit a Woman? - August 1, 2025


