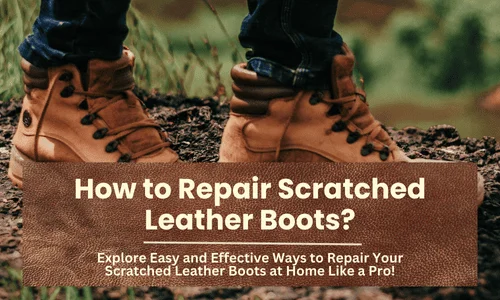
There’s nothing worse than spotting a fresh scratch on your favorite leather boots. Whether it’s from an unexpected scuff on the pavement or the wear and tear of daily use, those marks can make your boots look old and worn out fast. The good news is, most scratches, whether light or deep, can be repaired at home with the right approach. From simple conditioning for minor scuffs to using fillers and dyes for deeper scratches, this guide will show you everything you need to restore your boots’ smooth finish and keep them looking sharp. Let’s dive into the best ways to bring your leather boots back to life.
Repairing Scratches on Leather Boots
Scratches on leather boots can vary in severity, from light surface scuffs to deep marks that penetrate the leather. Understanding the type of scratch you’re dealing with will help you choose the right repair method. With the proper tools and techniques, you can restore the smooth finish and rich color of your boots, preventing further damage and extending their lifespan.
Steps
Start by cleaning the boots thoroughly to remove dirt and dust. Use a damp cloth and mild soap to gently wipe the leather. For stubborn dirt, use a soft brush to reach creases and seams. Let the boots dry completely in a cool, dry place. Avoid direct sunlight or heat sources, as they can dry out the leather.
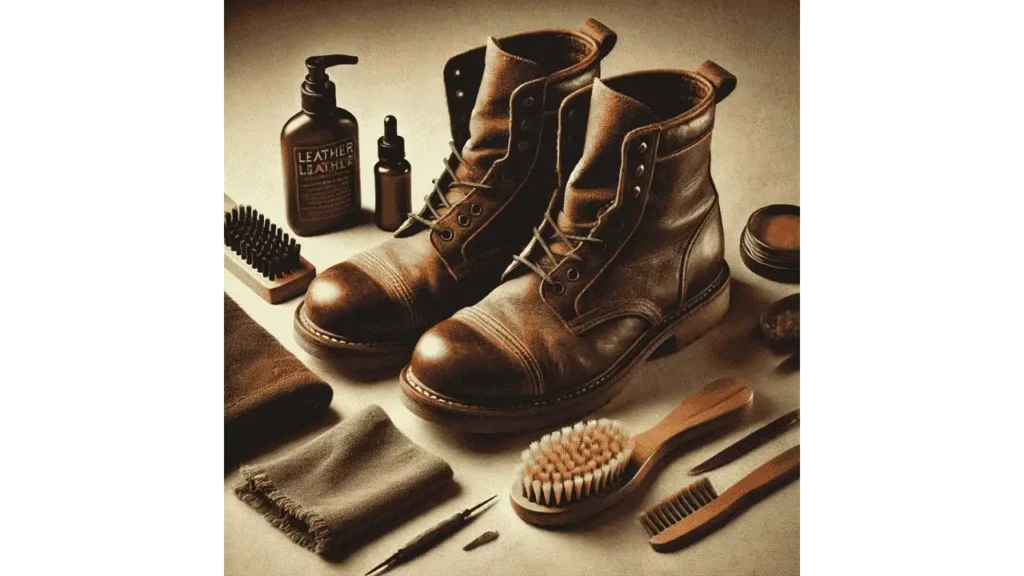
Next, inspect the boots under good lighting to assess the depth and severity of the scratches. Light scratches will need basic conditioning, while deeper scratches or gouges may require filler and dye. Gather the appropriate materials such as leather conditioner, repair kits, or matching leather dye to address the damage effectively. Before applying any product, test it on a small, inconspicuous area of the boot to ensure it doesn’t discolor the leather. This precaution prevents unexpected color changes and ensures a seamless finish. Once you’re confident with the product, proceed with the repair process based on the scratch type.
Fixing Minor Scratches
For small, surface-level scratches, apply a small amount of leather conditioner or olive oil to a soft cloth. Gently rub the scratched area in circular motions. Let the conditioner absorb into the leather for a few hours, then buff the area with a clean, dry cloth. This will restore the leather’s color and texture.
Repairing Deeper Scratches
For deeper scratches, use a leather repair kit that includes filler and matching dye. Apply a small amount of leather filler to the scratch with a palette knife, smoothing it out evenly. Once dry, apply the matching leather dye to blend the repair with the rest of the boot. Finish by conditioning the entire boot to restore moisture and shine.
Final Takeaways
Maintaining the look and quality of your leather boots doesn’t have to be difficult. Regular cleaning, conditioning, and quick repairs can prevent small scratches from turning into major damage. By taking a few simple steps, you can protect your investment and keep your boots looking sharp and stylish for years. A little care goes a long way in preserving the comfort and durability of your favorite pair.

- How to Wear an Oversized Leather Jacket? Style Tips for a Casual Look - August 6, 2025
- How to Fold a Leather Jacket? - August 5, 2025
- How Should a Leather Jacket Fit a Woman? - August 1, 2025