A good pair of leather boots isn’t just footwear, it’s a part of your everyday adventures. Whether they’ve carried you through long workdays, rugged trails, or city streets, they’ll eventually show signs of wear. Scuffs, cracks, loose stitching, or thinning soles don’t mean it’s time to say goodbye. With the right techniques, you can breathe new life into your boots and keep them going strong. In this guide, we’ll cover everything from fixing minor scratches to repairing soles and stitching, so your boots stay as tough and stylish as the day you got them.

How to Repair Leather Boots? A Complete Guide
Assessing the Condition of Your Leather Boots
Inspecting the Leather Surface
Start by carefully examining the leather for cracks, scratches, and scuffs. Gently run your hand over the surface to feel for any rough or damaged areas. Take note of deep scratches or dry patches that will need extra care during the repair process to ensure a smooth and even finish.
Checking Soles and Heels
Flip your boots over and thoroughly inspect the soles and heels for signs of wear or separation. Look for thinning areas or loose sections where the sole might be peeling away from the boot. Addressing these issues early can prevent further damage and costly repairs in the future.
Examining Stitching and Seams
Carefully check the stitching along all seams, paying close attention to high-stress areas like the toe and heel. Look for loose threads or spots where the stitching has come undone. Repairing these issues promptly will help maintain the structure and durability of your boots.
Assessing Zippers and Buckles
Test all zippers and buckles to ensure they are functioning smoothly. Look for bent buckles, rust, or stuck zippers that may need adjustment or replacement. Functional hardware is crucial for the overall usability and appearance of your leather boots.
Related: Getting Paint Off Leather Boots
Essential Tools for Leather Boot Repair
Basic Repair Kit Components
Gather essential tools like leather glue, a sewing kit with heavy-duty needles and thread, sandpaper, and leather conditioner. These basic items will help you handle most minor repairs and keep your boots in good condition with minimal effort.
Tools for Sole and Heel Repairs
For sole and heel repairs, you’ll need specialized tools such as shoe glue, clamps, and replacement soles or heels. A rubber mallet can also be helpful to secure new parts in place, ensuring a strong and lasting bond between components.
Advanced Repair Tools
If you’re tackling more complex repairs, invest in edge dressing, a leather patch kit, and waterproofing sprays. A heat gun can also help with molding leather patches, making it easier to restore the original shape and appearance of your boots.
Step-By-Step Guide To Basic Leather Boot Repairs
Cleaning and Preparing the Leather
Begin by cleaning the boots with a damp cloth to remove dirt and debris. Use a specialized leather cleaner for deeper cleaning, ensuring that the surface is free from any residue. Let the boots dry completely before proceeding to prevent trapping moisture inside the leather.
Repairing Minor Scratches and Scuffs
Apply a small amount of leather repair cream to scratches and scuffs. Gently rub it in with a soft cloth, allowing it to absorb into the leather. Once dry, buff the area to blend the repair with the rest of the boot, restoring its smooth appearance.
Stitching Minor Tears and Holes
For small tears or holes, thread a heavy-duty needle with waxed thread. Carefully stitch the tear using tight, even stitches, ensuring the repair is strong and secure. Tie off the thread securely and trim any excess to prevent unraveling over time.
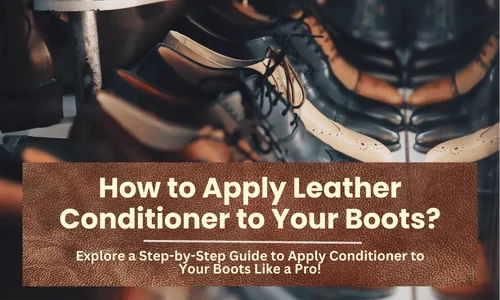
Conditioning the Leather
Once all repairs are complete, apply a generous layer of leather conditioner to restore moisture and flexibility. Use a soft cloth to work the conditioner evenly into the leather, allowing it to absorb overnight for the best results.
Advanced Techniques For Reviving Worn-Out Leather Boots
Restoring Severely Damaged Leather
For deep cracks or hardened leather, use a leather filler to restore the surface. Apply the filler to the damaged areas, smoothing it out evenly. Once dry, follow up with a matching leather dye to blend the repair seamlessly with the rest of the boot.
Replacing Damaged Soles and Heels
Carefully remove the old sole or heel using a flat tool like a screwdriver. Apply strong shoe glue to the new sole and press it firmly into place. Use clamps to hold the sole securely while it dries, ensuring a durable and long-lasting bond.
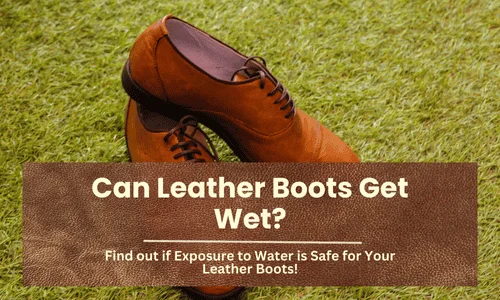
Waterproofing and Weatherproofing
Protect your boots from moisture and harsh weather by applying a waterproofing spray or wax. Make sure to cover the entire boot evenly, paying special attention to seams and stitching to provide comprehensive protection.
Final Takeaways
Repairing leather boots is a rewarding process that extends their life and keeps them looking great. With the right tools and a bit of patience, your boots can look and feel like new again. Taking the time to care for your leather footwear not only saves you money but also preserves the comfort and style you love.

- How to Wear an Oversized Leather Jacket? Style Tips for a Casual Look - August 6, 2025
- How to Fold a Leather Jacket? - August 5, 2025
- How Should a Leather Jacket Fit a Woman? - August 1, 2025