
Painting a leather bag is a creative way to breathe new life into an old accessory or make a new one uniquely yours. Whether you’re looking to refresh a worn-out bag or create a custom design, using the right techniques and materials will help you achieve a beautiful, long-lasting result.
A Guide to Painting Leather Bags & Purses
Painting on leather requires more care than painting on other materials. Leather is naturally porous and flexible, so proper preparation and the correct products are key to ensuring your design stays vibrant and resists cracking or peeling over time.
Materials You Need
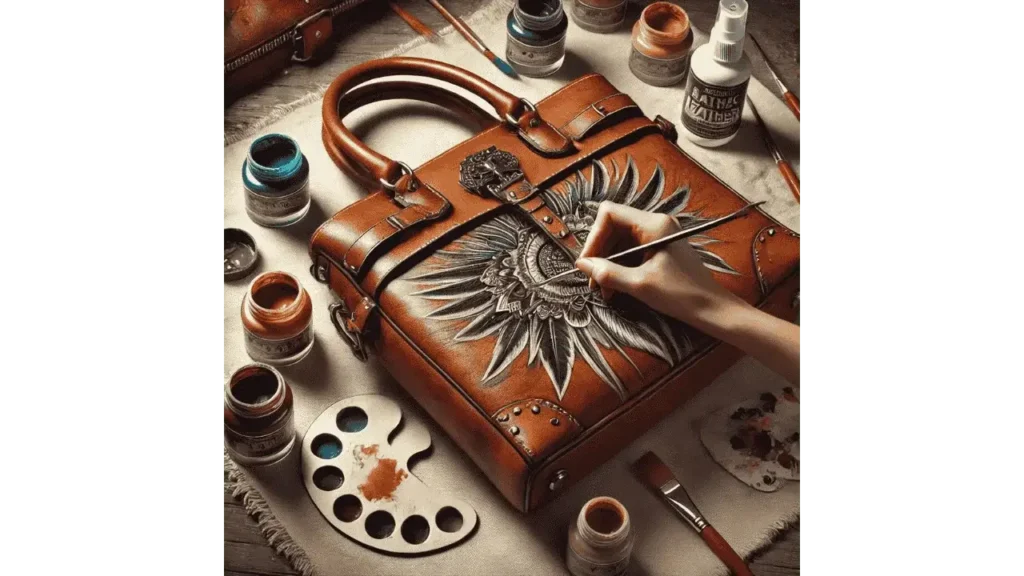
Before you begin painting your leather bag, it’s important to have the right supplies. Leather paint is designed specifically to bond with leather and remain flexible, preventing cracks over time. A leather preparer and deglazer is essential for removing finishes, oils, and dirt, creating a clean surface for painting. Soft and fine brushes allow for smooth base coats and detailed designs, ensuring precision in your artwork. Painter’s tape helps cover areas you don’t want to paint, protecting hardware and seams. Once your design is complete, a leather finisher will seal and safeguard the paint from scratches and fading. A cotton cloth is necessary for cleaning and preparing the surface, and if you’re aiming for intricate patterns, stencils can provide helpful guidance. Having all these materials ready will make the painting process much smoother and lead to better results.
Read More: Can You Wash a Leather Bag?
Step-by-Step Guide to Painting Leather Purses
1. Prepare the Surface
Start by thoroughly cleaning the leather surface with a leather preparer and deglazer. This step removes any oils, dirt, and existing finishes that could prevent the paint from adhering. Use a cotton cloth to wipe the surface and let it dry completely.
2. Mask Off Areas
Cover any parts of the bag you want to protect from paint, such as zippers, hardware, or sections you want to leave unpainted. Use painter’s tape to create clean lines and avoid accidental smudges.
3. Start Painting
Apply the leather paint in thin, even layers using a soft brush. Let each layer dry fully before applying the next. Applying too much paint at once can cause cracking, so patience is key. For solid coverage, two to three thin coats are usually enough.
4. Add Details
Once the base coat is dry, use fine brushes or stencils to add details and patterns. Work slowly and carefully to create clean lines and vibrant designs. You can also blend colors for gradient effects or add shading for depth.
5. Let It Dry
After finishing your design, allow the bag to dry in a well-ventilated area for several hours. Avoid handling the bag during this time to prevent smudging or accidental damage.
6. Protect Your Artwork with a Finisher
Once the paint is fully dry, apply a leather finisher to seal the paint and protect it from scratches, moisture, and fading. Apply the finisher evenly in thin layers, allowing it to dry completely between coats. This final step keeps your design looking fresh and durable.
Final Takeaways
Painting a leather bag is an easy and rewarding way to showcase your creativity. By properly preparing the surface, applying paint in thin layers, and sealing the design, you can create a custom bag that reflects your personal style and stands up to daily use.

- How to Wear an Oversized Leather Jacket? Style Tips for a Casual Look - August 6, 2025
- How to Fold a Leather Jacket? - August 5, 2025
- How Should a Leather Jacket Fit a Woman? - August 1, 2025

