
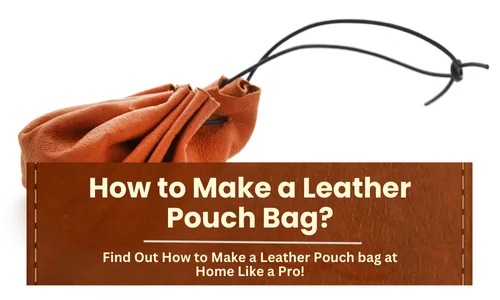
Creating your own leather pouch bag is a rewarding project that lets you craft a stylish and functional accessory. With the right materials and a bit of patience, you can make a durable leather pouch that’s perfect for everyday use. This guide will show you how to make a leather pouch bag at home, step by step.
How to Make a Leather Pouch Bag at Home?
Making a leather pouch bag at home is simpler than it seems. It involves cutting, shaping, and stitching leather to create a unique bag. Whether you’re a beginner or have some crafting experience, this guide will help you through the process.
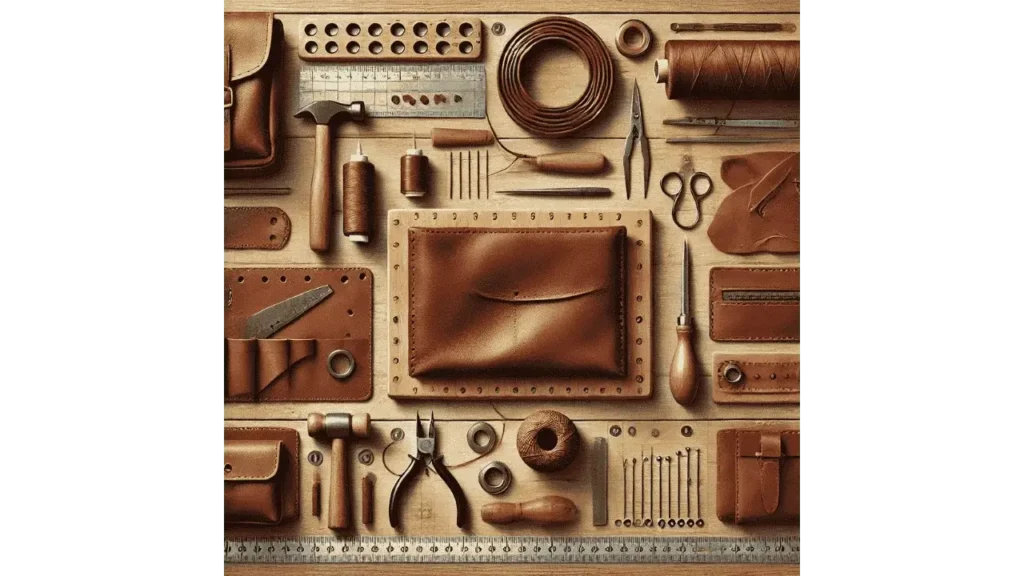
Supplies You Need
To start making your leather pouch bag, gather the following supplies: a piece of genuine leather (your preferred color and thickness), a sharp utility knife or rotary cutter, a ruler or measuring tape, leather hole punch, waxed thread, stitching needles, leather glue, clips or binder clips, and a button or snap closure. Having these materials ready will make the process smoother and more enjoyable.
Steps to Follow
Step 1: Choose and Prepare Your Leather
Select a high-quality piece of leather suitable for your desired pouch size. Use a ruler to measure and mark the dimensions on the leather. Cut the leather carefully using a utility knife or rotary cutter, ensuring clean and straight edges.
Step 2: Design the Pouch Shape
Decide on the pouch design, simple envelope-style or a drawstring pouch. Fold the leather to visualize the final shape and mark where the edges will be stitched. Adjust the design as needed to fit your style and function.
Step 3: Punch Holes for Stitching
Use a leather hole punch to make evenly spaced holes along the edges where stitching will occur. This step ensures neat, consistent stitching and makes the sewing process easier.
Step 4: Stitch the Edges Together
Thread a needle with waxed thread and begin stitching the pouch together using a saddle stitch for strength and durability. Start from one side and continue until all sides are securely stitched. Pull the thread tight but not too tight to avoid puckering the leather.
Step 5: Attach the Closure
Add a button, snap, or magnetic closure to secure the pouch. Measure and mark where the closure will go, and attach it firmly. If using a drawstring, punch holes at the top edge and thread the cord through.
Step 6: Finish and Condition the Leather
Trim any excess thread and clean up the edges. Apply leather conditioner to keep the leather soft and prevent it from drying out. Let the pouch sit for a few hours to absorb the conditioner.
Key Takeaways
Making a leather pouch bag at home is a creative and practical project. With basic tools and a bit of effort, you can design a stylish, durable pouch that suits your needs. Careful cutting, precise stitching, and proper finishing ensure your handmade pouch lasts a long time and looks great.

- How to Wear an Oversized Leather Jacket? Style Tips for a Casual Look - August 6, 2025
- How to Fold a Leather Jacket? - August 5, 2025
- How Should a Leather Jacket Fit a Woman? - August 1, 2025

