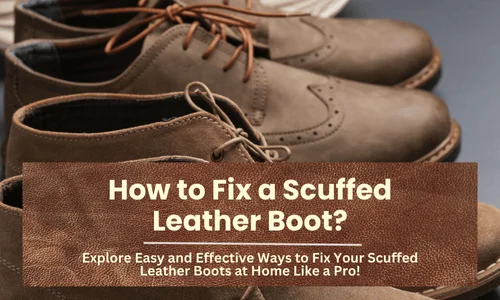
A single scuff on your leather boots can turn a once-pristine pair into something that looks worn and neglected. Whether it’s from an accidental scrape or everyday wear, those marks can be frustrating, especially on a favorite pair. But don’t worry, scuffed leather isn’t the end of the road. With the right techniques, you can erase those blemishes, restore the leather’s smooth finish, and keep your boots looking as sharp as ever. With the help of this guide; through simple yet effective ways to fix scuffs, from quick touch-ups to deeper repairs, you will be able to step out with confidence again.

Assessing the Damage: Identifying Scuffs on Leather Boots
Examine your leather boots closely to determine the severity of the scuffs. Light surface scuffs only affect the outer layer and can be fixed with conditioning and polishing. Deep scratches that cut into the leather will need more intensive repair using fillers and dyes. Identifying the damage correctly helps you choose the right repair method.
Preparing for Restoration: Essential Tools and Supplies
Having the right tools and supplies makes the repair process much easier and more effective. You’ll need a soft cloth, mild soap, leather cleaner, leather conditioner, shoe polish, and a buffing brush. For deeper scuffs, a leather repair kit with filler and matching dye will be necessary. Gathering these items before starting will save time and ensure a smooth restoration process.
Step-by-Step Guide to Fixing Scuffed Leather Boots
Step 1: Cleaning the Boots
Start by gently cleaning the leather surface with a soft cloth and mild soap or leather cleaner. This removes dirt and oils that could interfere with the repair. Allow the shoes to dry completely before moving on to the next step.
Step 2: Treating Scuff Marks
For light scuffs, apply a small amount of leather conditioner or olive oil to a clean cloth and rub it into the scuffed area in circular motions. Let it sit for a few hours to absorb. For deeper scuffs, use a leather filler from a repair kit, smoothing it over the damaged area. Once the filler is dry, apply matching leather dye to blend the repair seamlessly.
Step 3: Polishing and Conditioning
Apply a matching shoe polish to the entire surface of the boot to even out the color. After polishing, use a leather conditioner to restore moisture and flexibility. This step helps prevent future damage and keeps the leather supple.
Step 4: Buffing and Finishing Touches
Finish by buffing the boots with a soft brush or cloth to bring out their natural shine. Pay extra attention to the repaired areas to ensure a smooth, consistent finish. This final step enhances the appearance and extends the lifespan of your boots.
Final Takeaways
Scuffed leather boots don’t have to be the end of your favorite pair. With regular care and timely repairs, you can keep your boots looking sharp and lasting a long time. By following these simple steps, you’ll protect your investment and maintain the durability and style of your leather footwear.

- How to Wear an Oversized Leather Jacket? Style Tips for a Casual Look - August 6, 2025
- How to Fold a Leather Jacket? - August 5, 2025
- How Should a Leather Jacket Fit a Woman? - August 1, 2025