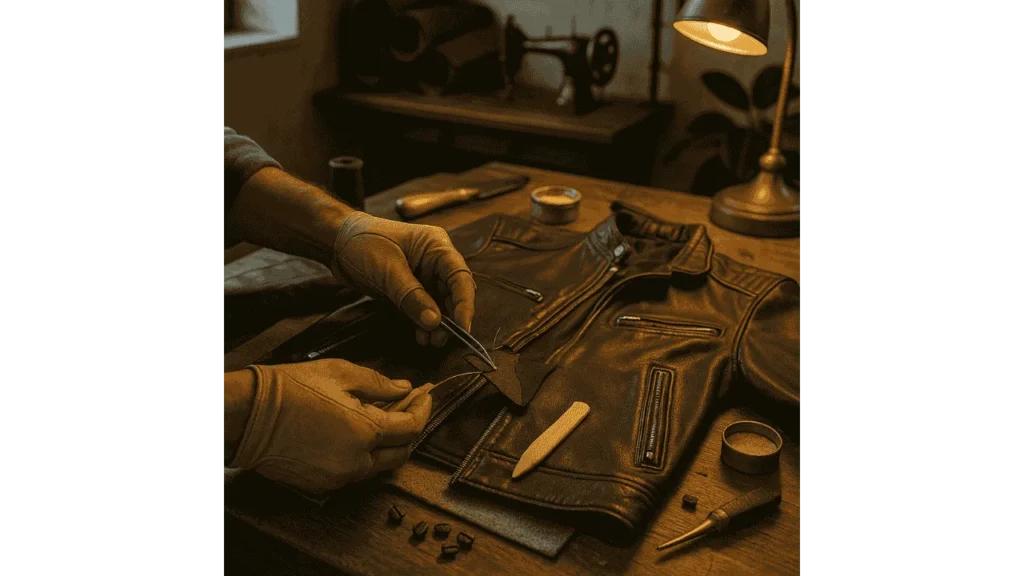
A torn leather jacket doesn’t have to be discarded. As someone who has spent over a decade restoring and maintaining leatherwear, I can confidently say that with the right repair techniques, even a severely damaged jacket can be brought back to life. Whether dealing with a small tear or a larger rip, proper repairs ensure that the leather remains strong without further damage. This guide explains the most effective ways to repair a torn leather jacket and maintain its condition.

Assessing the Damage Before Repairing
Before starting any repairs, examine the tear closely. Small surface-level scratches or minor cuts can often be fixed with adhesive, while larger tears may require patching or sewing. If the damage exposes the fabric underneath or weakens the surrounding leather, a reinforcement method is necessary. Identifying the severity of the tear ensures the right repair approach is used, preventing additional wear and tear.
“Leather is like skin , it can scar, but it can also heal with the right treatment.” – Dan Preston, leather craftsman and restoration expert
Methods to Repair a Leather Jacket Tear
Using a Leather Patch for Large Tears
For larger tears, applying a leather patch is the most effective fix. Choose a patch that closely matches the jacket’s color and texture. Cut the patch slightly larger than the damaged area to ensure complete coverage. Apply a thin layer of leather adhesive around the edges and press the patch firmly onto the torn section. Allow it to dry completely before wearing the jacket again. This method provides a long-lasting solution while reinforcing the damaged area.
Applying Leather Glue for Small Tears
For small tears, leather glue works well in sealing the edges without requiring additional materials. Start by gently cleaning the torn area with a damp cloth to remove dirt or oils. Apply a small amount of leather glue along the tear and press the edges together. Hold them in place until the adhesive begins to set. Once dry, lightly buff the area with a soft cloth to blend the repair. This method is best suited for minor damage that does not require extra reinforcement.
Read More: Is a Leather Jacket Business Casual?
Sewing the Tear for a Durable Fix
For a more permanent repair, sewing the torn section adds extra strength. Use a heavy-duty needle and strong thread designed for leather. Start by stitching from the inside of the jacket to keep the repair less visible. Use small, even stitches to ensure durability. Once sewn, applying a thin layer of leather conditioner helps soften the repaired area, preventing stiffness. This technique is ideal for seams or areas that experience frequent movement.
Blending and Conditioning the Repaired Area
After completing the repair, blending the fixed section ensures the jacket maintains a natural look. If the repair is visible, applying a leather repair balm or color-matching dye helps blend it with the surrounding material. Once the repair is set, conditioning the entire jacket restores its moisture and flexibility. Regular conditioning prevents future cracks and maintains the leather’s softness.
“Blending a leather repair is not just about hiding the damage , it’s about restoring character.” – Elena Ford, leather apparel specialist
Final Takeaways
Repairing a torn leather jacket is a straightforward process when using the right method. Small tears can be fixed with leather glue, while larger ones benefit from patches or stitching. Blending and conditioning the repaired area ensures the jacket retains its original look and feel. With proper care and maintenance, a leather jacket can last for many years without showing signs of damage.
- How to Wear an Oversized Leather Jacket? Style Tips for a Casual Look - August 6, 2025
- How to Fold a Leather Jacket? - August 5, 2025
- How Should a Leather Jacket Fit a Woman? - August 1, 2025


